
If you’re on the fence about buying a belt or whether or not you need a belt, or don’t understand the benefits or how to use a belt, here is the ultimate guide to using a lifting belt.
We have some tips from Sling Shot on how to learn and use your belt, how to choose a belt that’s right for you, and when and why to put one on.
WHY WEAR A LIFTING BELT?
It makes the lift safer by assisting and preventing injury. For this reason, you can also lift more weight. You put a belt on to be able to train at a higher intensity and more consistently given these important factors.
WHEN TO USE A LIFTING BELT:
You can wear a belt whenever you want––from the start to finish of your workout. But if you’re using it as a crutch, you might want to set certain positions in your workout or certain weights that you’ll want to add a belt in. You may also want to add in training days here and there without a belt to refrain from becoming too dependent on it. Something we say is that if you’re going to go heavy, put a belt on early and often to ensure that your focus for the day is on your top sets.
WHAT ARE BELTS FOR:
You can use a lifting belt for anything that’s demanding of your mid and low back. Examples: Squat, bench, deadlift, overhead press, weighted carries, weightlifting movements, and the clean and jerk and snatch. See below for a more complete list of movements.
WHAT THEY DO:
Belts are there to assist you in bracing, acting as a second abdominal wall. The way you use a belt is not just by putting it on tight, but by putting it on, bracing and pushing into the belt. For example, when someone tries to open a jar of pickles and has an issue with it, they make that funny noise and brace. They’re trying to get their whole body involved in the simple task of opening a jar. We want to brace our core and push our abdomen into the belt for each rep.
SAFETY:
Belts are intended to provide some safety by helping to prevent injury, such as herniated and slipped discs and hernias, but will not prevent 100% of all injuries.
The reason people get hurt is somewhere in their core, abdomen, or mid- to low-back, there is a breakdown and they no longer have the ability to hold the position. So the belt is just reinforcement so you are able to hold the position.
SHOULD YOU USE A LIFTING BELT:
You can always use a lifting belt, but that doesn’t mean you need to go heavier with a belt. You still want to focus on proper form and good technique and becoming efficient at the movement. From there you can utilize the belt to increase your volume and intensity of training. You also do not always need a belt, but you don’t need running water or electricity either, but they’re very nice to have.
The goal with training with a belt is not to train through an injury, it’s to help prevent injuries. The easiest way to make gains or progress is to train over the course of a long period of time. The healthier you can stay and more you can prevent injuries makes that journey easier and your goals easier to attain.
HOW TO USE A LIFTING BELT:
If you’ve never used a lifting belt, start by placing it where you splitting your belly button horizontally. From there, everyone is going to have to learn where they get more benefit from the belt. Don’t be afraid to try it in different places. Start there, and then you’re going to have to learn where you want to place it, whether that’s higher or lower or angled higher in the back and lower in the front, or lower in the front and higher in the back. To find out how to use the belt effectively, do not be afraid to try it in different positions.
Also, be smart. Don’t move your belt to a spot you’ve never worn it for your top set or a heavy set.
A good way to learn how to brace and push into your belt is to do core/ab work in your belt. For example, you can do sit ups off a GHR, weighted side bends, planks, or any core exercise you can think of. You would wear the belt loose and brace by engaging your core and pushing into the belt during the whole movement. That’s an easy way to learn how to brace and push into the belt effectively.
HOW TIGHT SHOULD THE BELT BE?
As tight as you need it. But you can put a belt on too tight. You will know if it’s too tight if it’s limiting your mobility or range of motion. And if you can’t take a full deep breath with the belt on, it’s too tight. For example: if someone is rushing to get the belt off after a set, then the belt is on too tight.
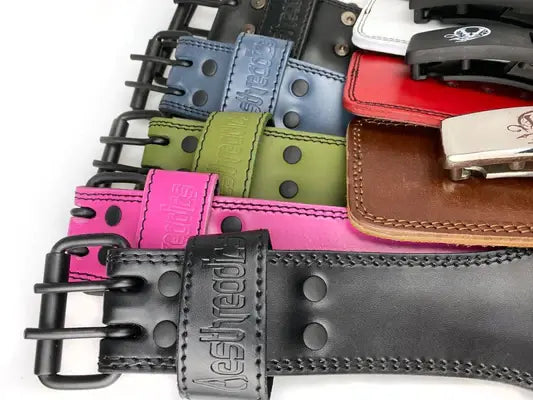
DIFFERENT TYPES OF BELTS:
Belts come in different thicknesses, different widths and different fasteners. Some come tapered towards the front and some are the same width all the way around. We at Built Athletics offer an arrange of leather belts including Tapered Belts, Power Belts, and the ever popular Lever Belt. The Lever belts are 10mm Thick for better support and structure for those big heavy lifts and they are a top seller for a reason!
THE BENEFITS OF EACH:
- Tapered Belts -Easy to get on and off and sizes range to fit men and women in all colors. Not bulky and best for most gym goers.
- Power Belts - 4" wide, 7mm thick leather belts offering more support for those who compete and stack on the plates. Better for taller individuals in need of the extra support as well.
- Lever Belts - Simplest to get on, and comes in 10mm thick leather. Clean look and great for every lifter
LISTS OF MOVEMENTS IN WHICH YOU CAN USE YOUR BELT:
- Bench
- Deadlift
- Any of the squat movements. Examples include:
- Overhead squat
- Front squat
- Zercher squat
- Back squat
- Clean and jerks
- Snatches
- Heavy dumbbells if needed
- Any variation of the deadlift. Examples include:
- RDL’s
- Stiff legged deadlifts
- Conventional deadlifts
- Sumo deadlifts
- Deficit deadlifts
- Weighted carries